Why Installation Matters as Much as the Screen Itself
Most conversations about an LED screen or video wall project revolve around the product: size, pixel pitch, brightness, brand. Yet choosing the right screen is only half the job. If the modules are not aligned to the millimetre, the seams become visible; if the support structure is not calculated correctly, it becomes a safety risk; if service access is not planned, even a simple fault can mean taking the whole wall apart. Installation quality directly shapes both how the screen looks on day one and what it costs to run over the years. In this article we walk through the 6 steps we follow on every project as part of our installation and commissioning service, and what to watch for at each step.
1. Site Survey and Measurement
A sound installation starts on site, not at a desk. During the survey the surface where the screen will go is measured, and the load capacity of the wall or floor, the ceiling height and existing services are checked. The location and capacity of power points, the network connection, ambient light levels and the distances and angles from which people will view the screen are all recorded. How the equipment will be brought in is settled at this stage too: door widths, freight lifts, working hours and building management rules are details that should never become surprises later. Quotes given without a site survey usually come back as extra costs or as work found missing on site.
2. Infrastructure Plan
The survey data turns into an infrastructure plan. It covers the type of support structure and its fixing points, the power line and breaker requirements, the network connection, ventilation and heat management. Whether the screen will be serviced from the front or the back is decided here; for recessed installations with no rear access, a front-serviceable design is required. If construction, electrical or interior teams are also working in the space, the order of work and the schedule are planned together with them. In LED screen projects, most problems arise when this plan is skipped or not coordinated with the other work on site.
3. Mounting
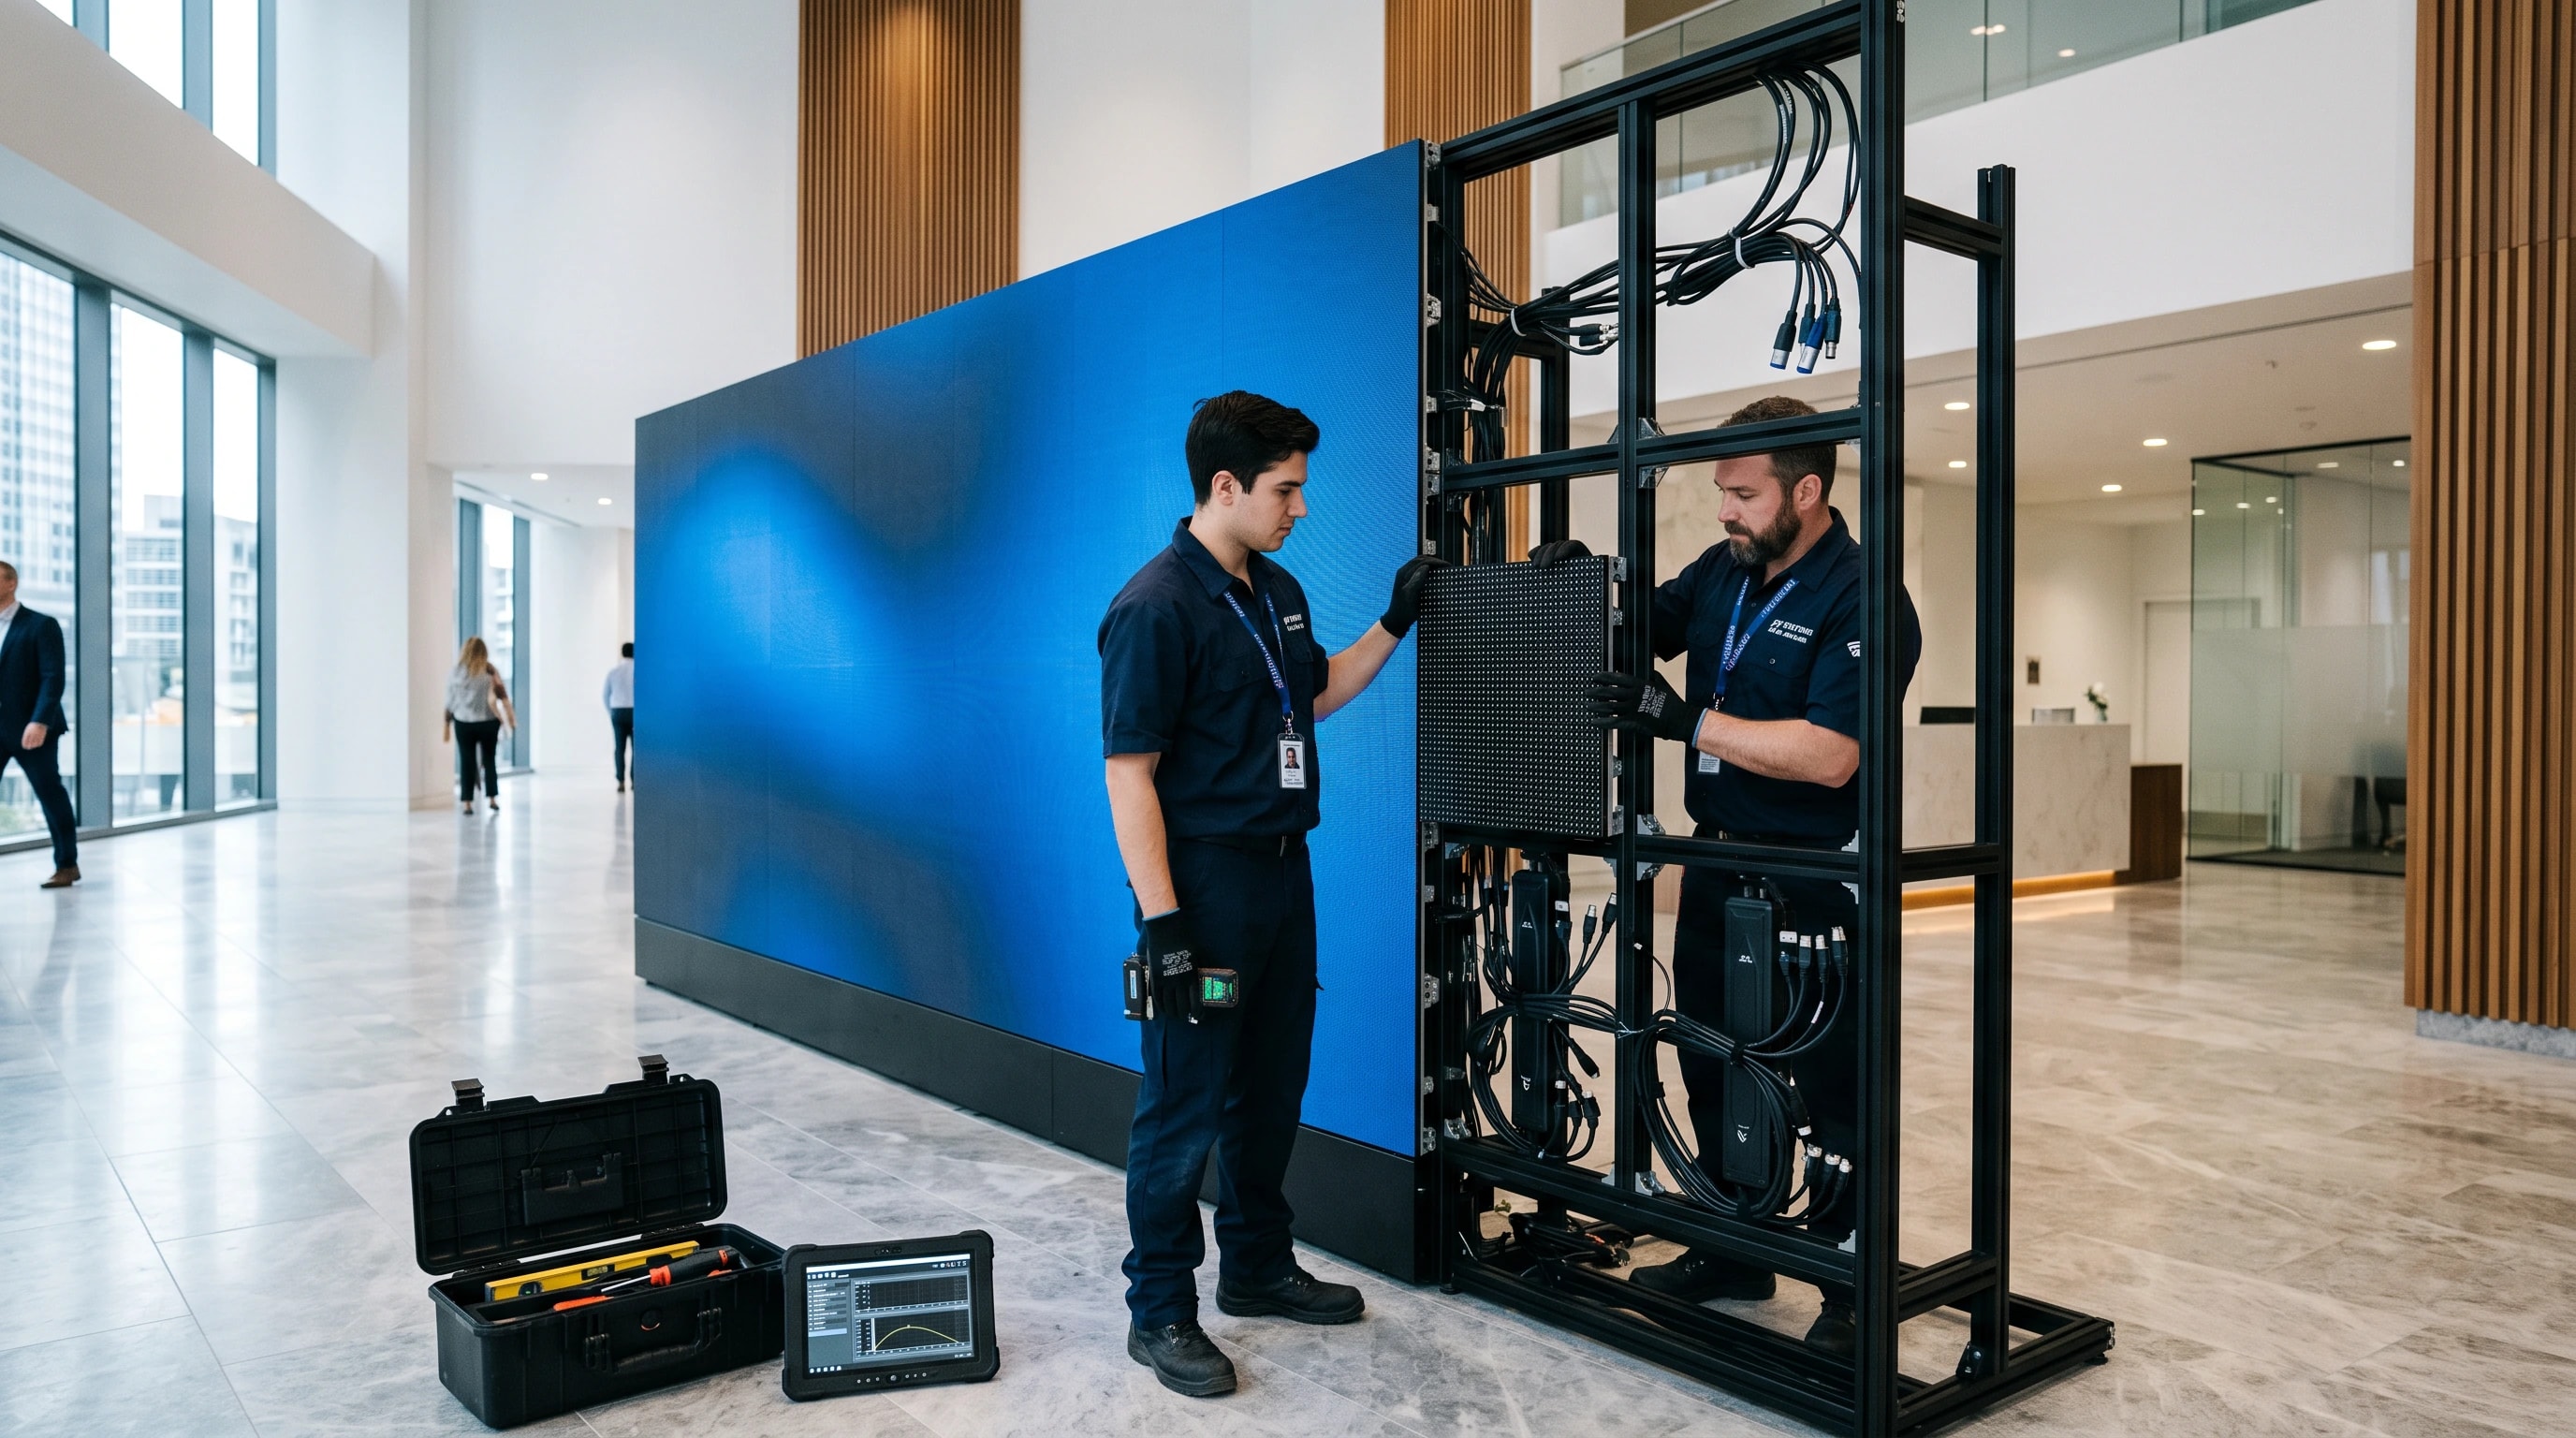
Mounting starts with building the support structure, which determines how flat the final surface will be. The LED cabinets or video wall panels are then placed and aligned. On large surfaces, even a millimetre of deviation shows up as a line or a break in the image, so alignment is done with laser and measuring tools. In video wall installations, seating the panels against each other with fine-adjustment mounts and no gaps is especially important. Cables are bundled neatly and labelled, which makes future service and maintenance much easier. If the venue stays open, mounting is scheduled for the hours that disrupt it least.
4. Configuration and Content Setup
Once the physical installation is done, the screen is not yet a working system. The controller and players are set up, the screen resolution is matched to the content source, and colour and brightness are calibrated. Devices are connected to the network, remote access is configured and users are added to the content management system. Finally, the first content is loaded at the screen’s real size and a playback schedule is created. If content should change by time of day, day of the week or location, scheduling is set up at this stage as well. In digital signage systems, much of the screen’s value depends on how carefully this step is done.
5. Testing and Acceptance
Before handover, the system is tested item by item together with the client. Colour and brightness uniformity across the whole surface, faulty pixels or modules, switching between sources, the sound system if there is one, and remote management are all checked. Real-life scenarios are tried too, such as the system powering back on and returning to playback by itself after a power cut. The tests carried out and the equipment delivered are recorded in an acceptance report. This document becomes a shared reference for both sides in any future warranty or service process.
6. Training and Handover
A system is truly handed over only when the team that will use it can run it with confidence. That is why the people who will use the system receive hands-on training on site: how to change content, how to edit the playback schedule and what to check first if something goes wrong. The day-to-day steps are left behind in a short user guide. After handover, we monitor the system remotely and our support team is with you 24/7.
The 5 Most Common Installation Mistakes
The mistakes that cause problems on projects are usually the same. First, getting a quote based only on dimensions, without a site survey. Second, not calculating the load capacity of the wall or structure. Third, recessing the screen without thinking about service access, which may mean removing the screen when a fault occurs. Fourth, leaving content until the very end and going live with visuals that do not match the screen’s real resolution. Fifth, accepting handover without training or documentation, after which the system can quickly fall out of use. All of these can be avoided from the start when the six steps above are followed in order.
“Installing an LED screen or video wall takes far more than mounting it on a wall. The 6 steps it takes to hand a system over fully working on site, from the site survey and infrastructure plan to mounting, testing and training.”
Does the Same Process Apply to Existing Screens?
Yes. The installation and commissioning process is brand-independent. Screens bought from another supplier or in use for years are also assessed during the survey; repositioning, configuration, connection to a content management system and training are carried out with the same care. This turns an existing investment into a working, manageable system instead of letting it go to waste.
Conclusion: Buying the Screen Is Only Half the Job
In LED screen and video wall projects, the quality of the screen alone does not decide success. When a proper survey, a solid infrastructure plan, precise mounting, careful configuration, documented testing and good training come together, the screen works as expected from day one and keeps running smoothly for years. If you would like to start your project with a site survey, get in touch with us.
How long does an LED screen installation take?
It depends on the size of the screen, the type of support structure, whether the site infrastructure is ready and how long the equipment takes to supply. A single indoor screen and a large outdoor facade project are very different. A clear step-by-step schedule is shared after the site survey.
Is installing a video wall different from installing an LED screen?
Yes. A video wall is usually built by placing thin-bezel LCD panels side by side on fine-adjustment mounts, while an LED screen is formed by joining modular cabinets on a support structure. We explain the differences in detail in our article Video Wall or LED Screen?.
Does the business have to close during installation?
In most projects, no. Mounting and noisy work are scheduled for the hours that disrupt the venue least, and the work area is safely separated.
Can I get support after installation?
Yes. After handover the system is monitored remotely and the support team can be reached 24/7. The scope of support is defined according to the needs of the project.